If you purchased a logo design and you don’t know what to do next, don’t worry, we got you covered. In this post, we’ve compiled a list of steps and tips to help you save and complete your brand.
Downloading the Premium package
After the purchase, click the “Download” button to download your logo files. All your logo modifications will be saved into your account and you’ll be able to edit and download them anytime.

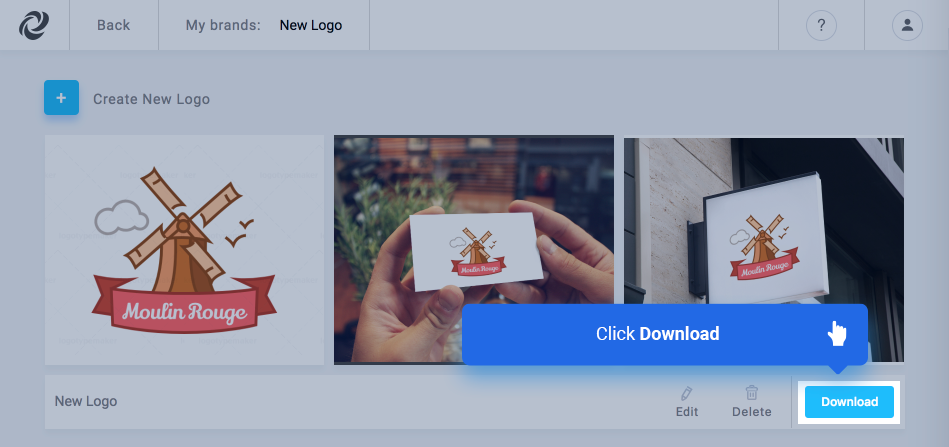
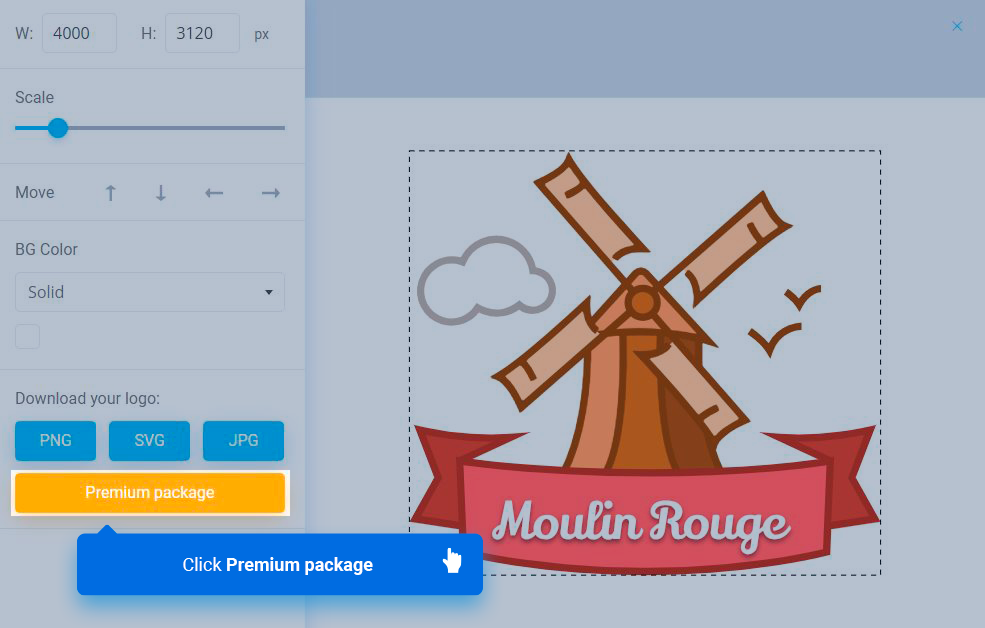
On the download page you can simply click the red “Premium Package” button and download the zip file or you can manually input your width and height sizes and download a PNG, JPG or SVG file with your logo.
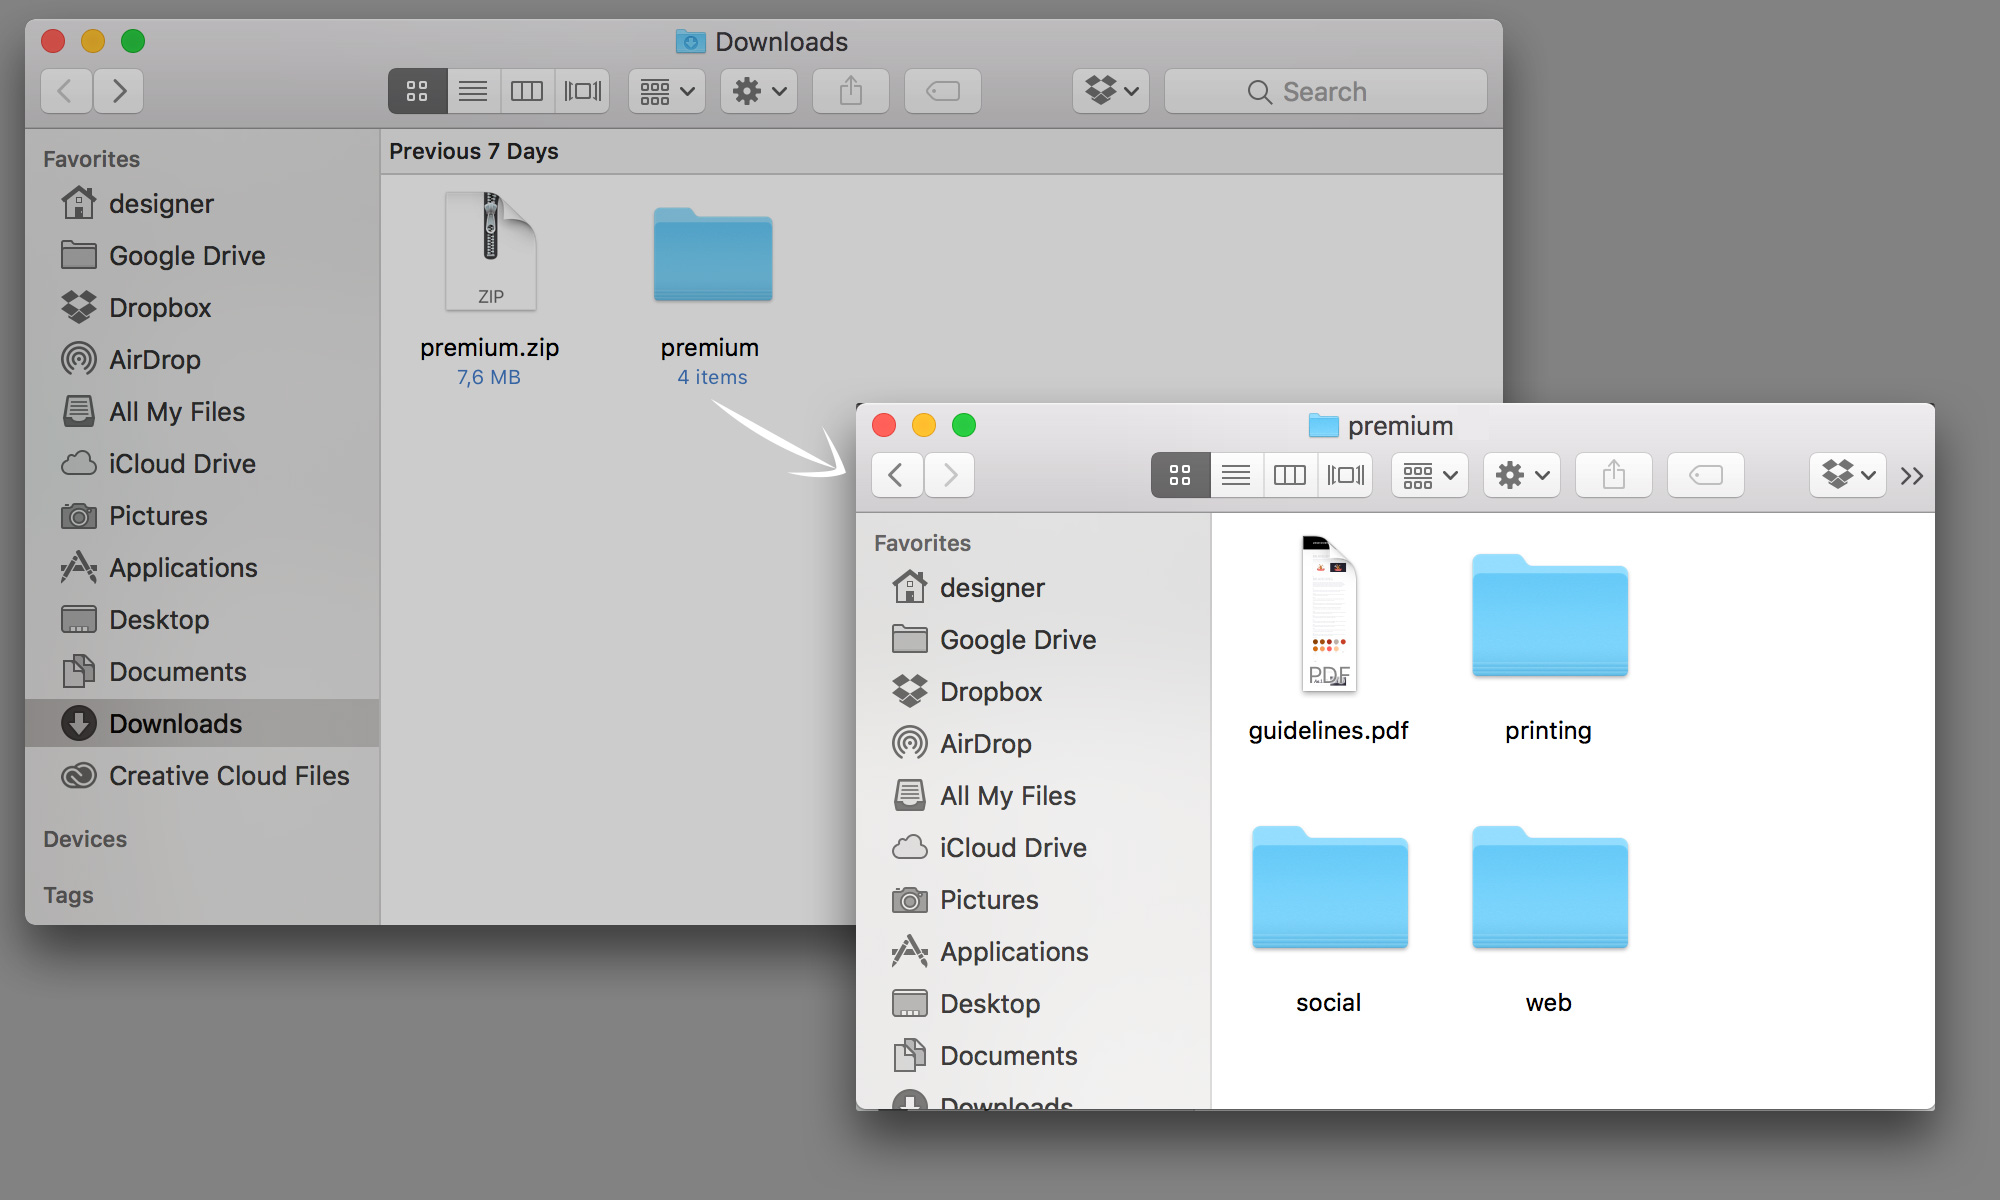
Next, the Premium package will be saved on your computer as a ZIP file. Unzipping a folder couldn’t be easier. Double-click the zip file and the “Premium” folder will be decompressed into the same folder the compressed file is in. The package contains 4 items: logo guidelines (PDF), printing, social and web folders.
Logo guidelines
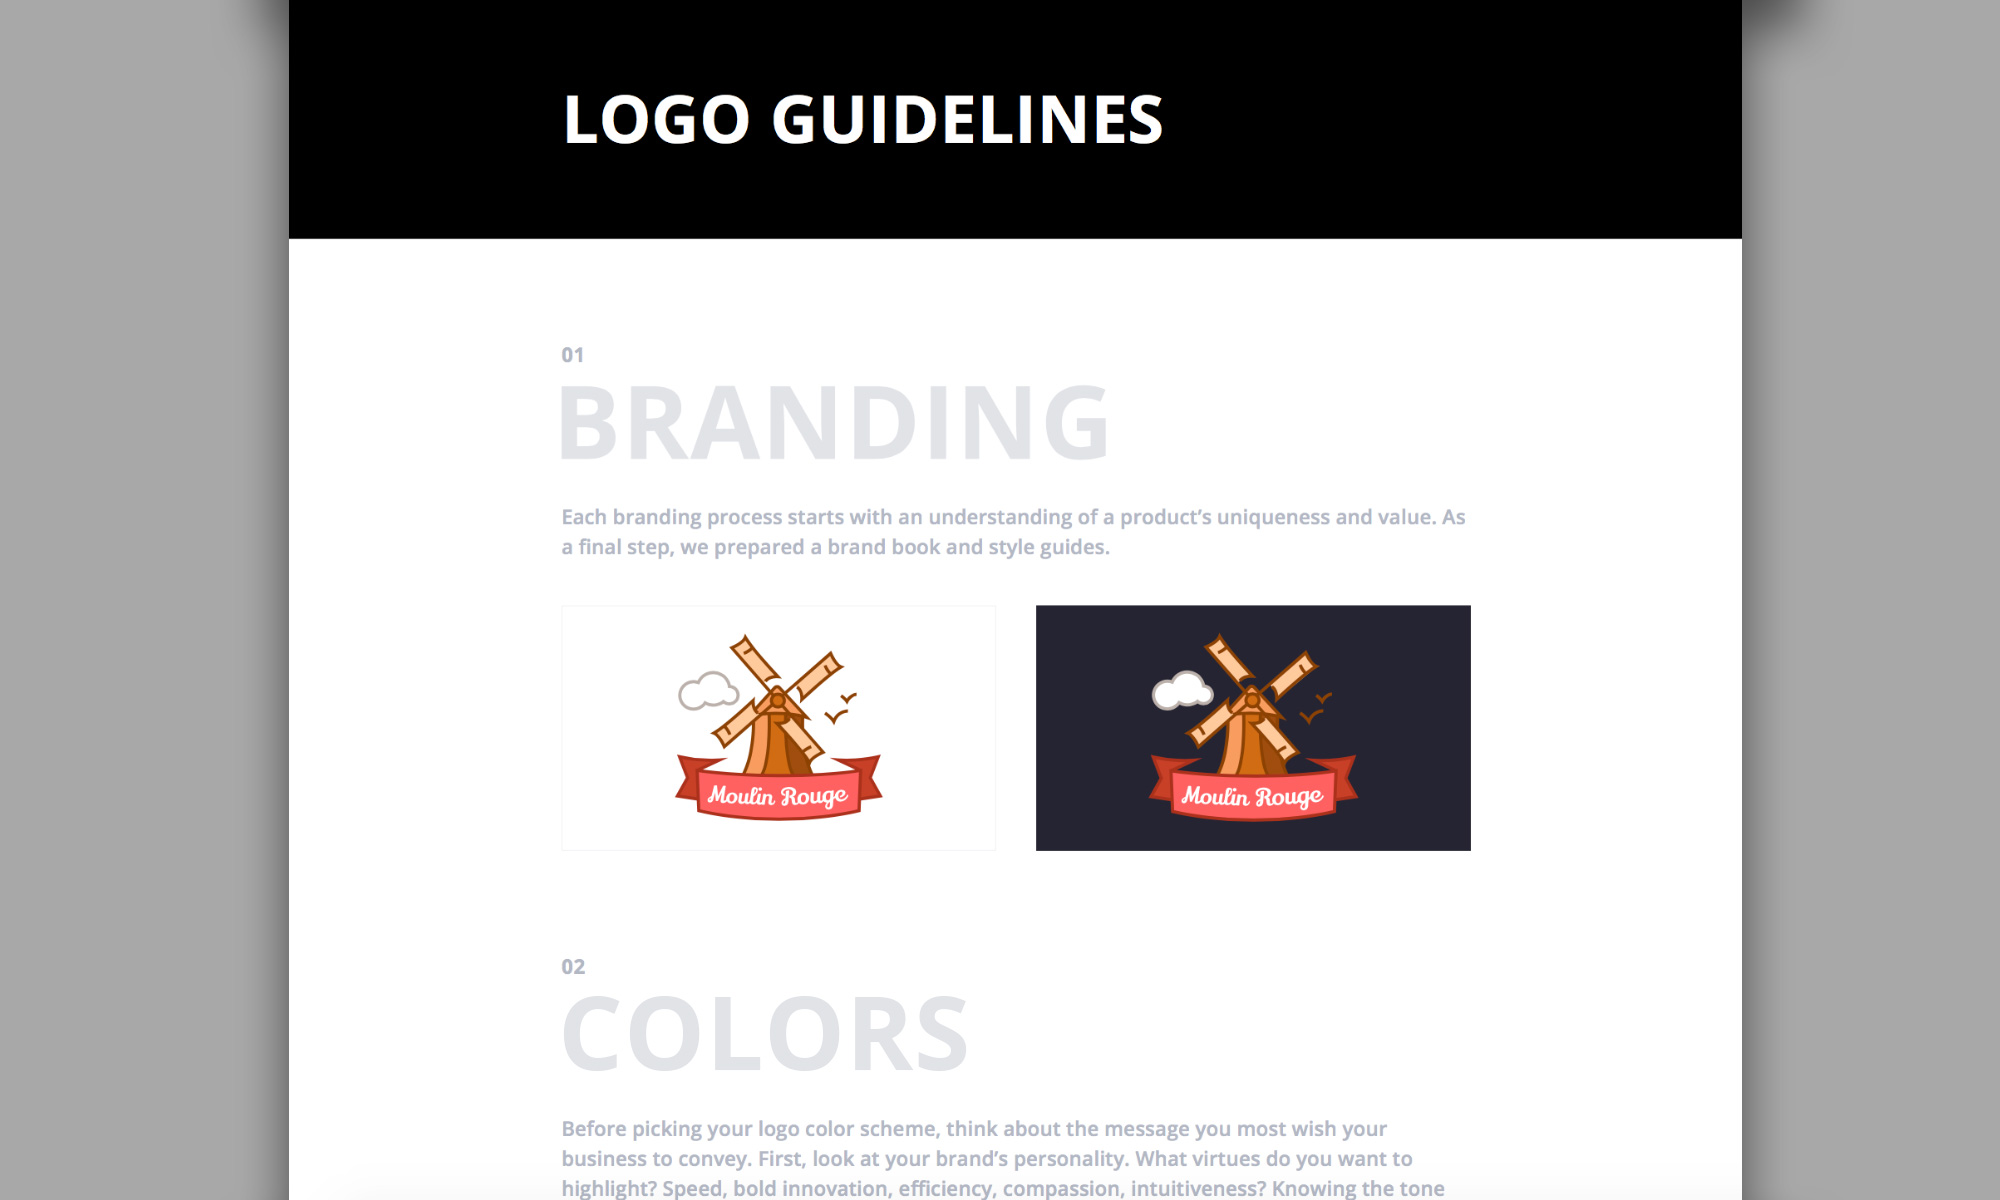
A brand style guide is the primary visual DNA of your company’s branding. It’s a PDF document that describes and presents examples of what your brand looks like on light and dark background, what color pallette were used to design it and what text font has the logo. This will be very useful for printing, marketing or future rebranding.
Logo for social networks
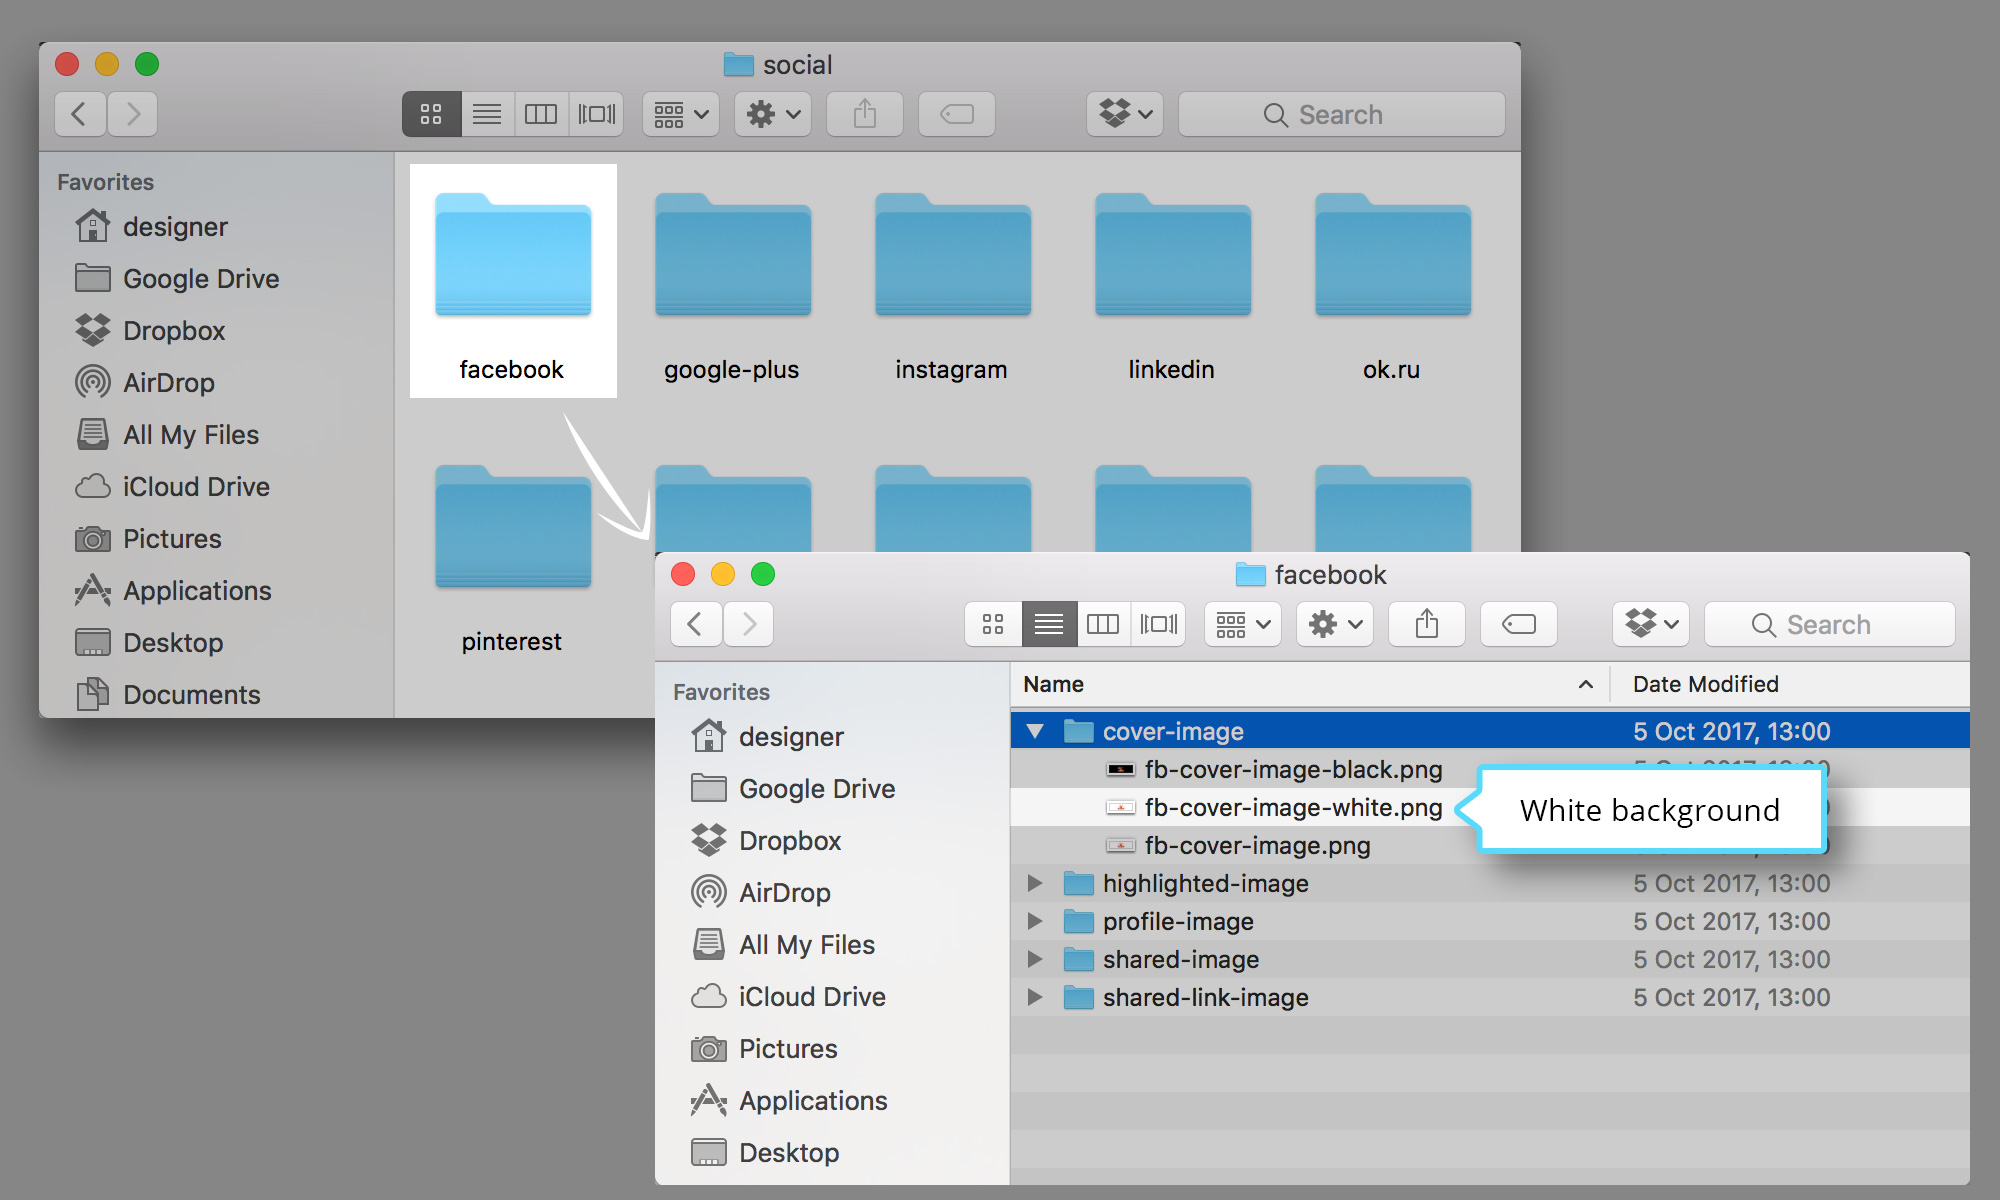
The “Social” folder contains standard images with your logo for the following most popular social networks: facebook, google+, instagram, linkedin, pinterest, tumblr, twitter, youtube, ok.ru, vkontakte. Also it has images with 3 different backgrounds (white, black and transparent) for each social network. Let’s upload a cover image for facebook with a white background. Go to Social > Facebook > Cover image > fb-cover-image-white.png
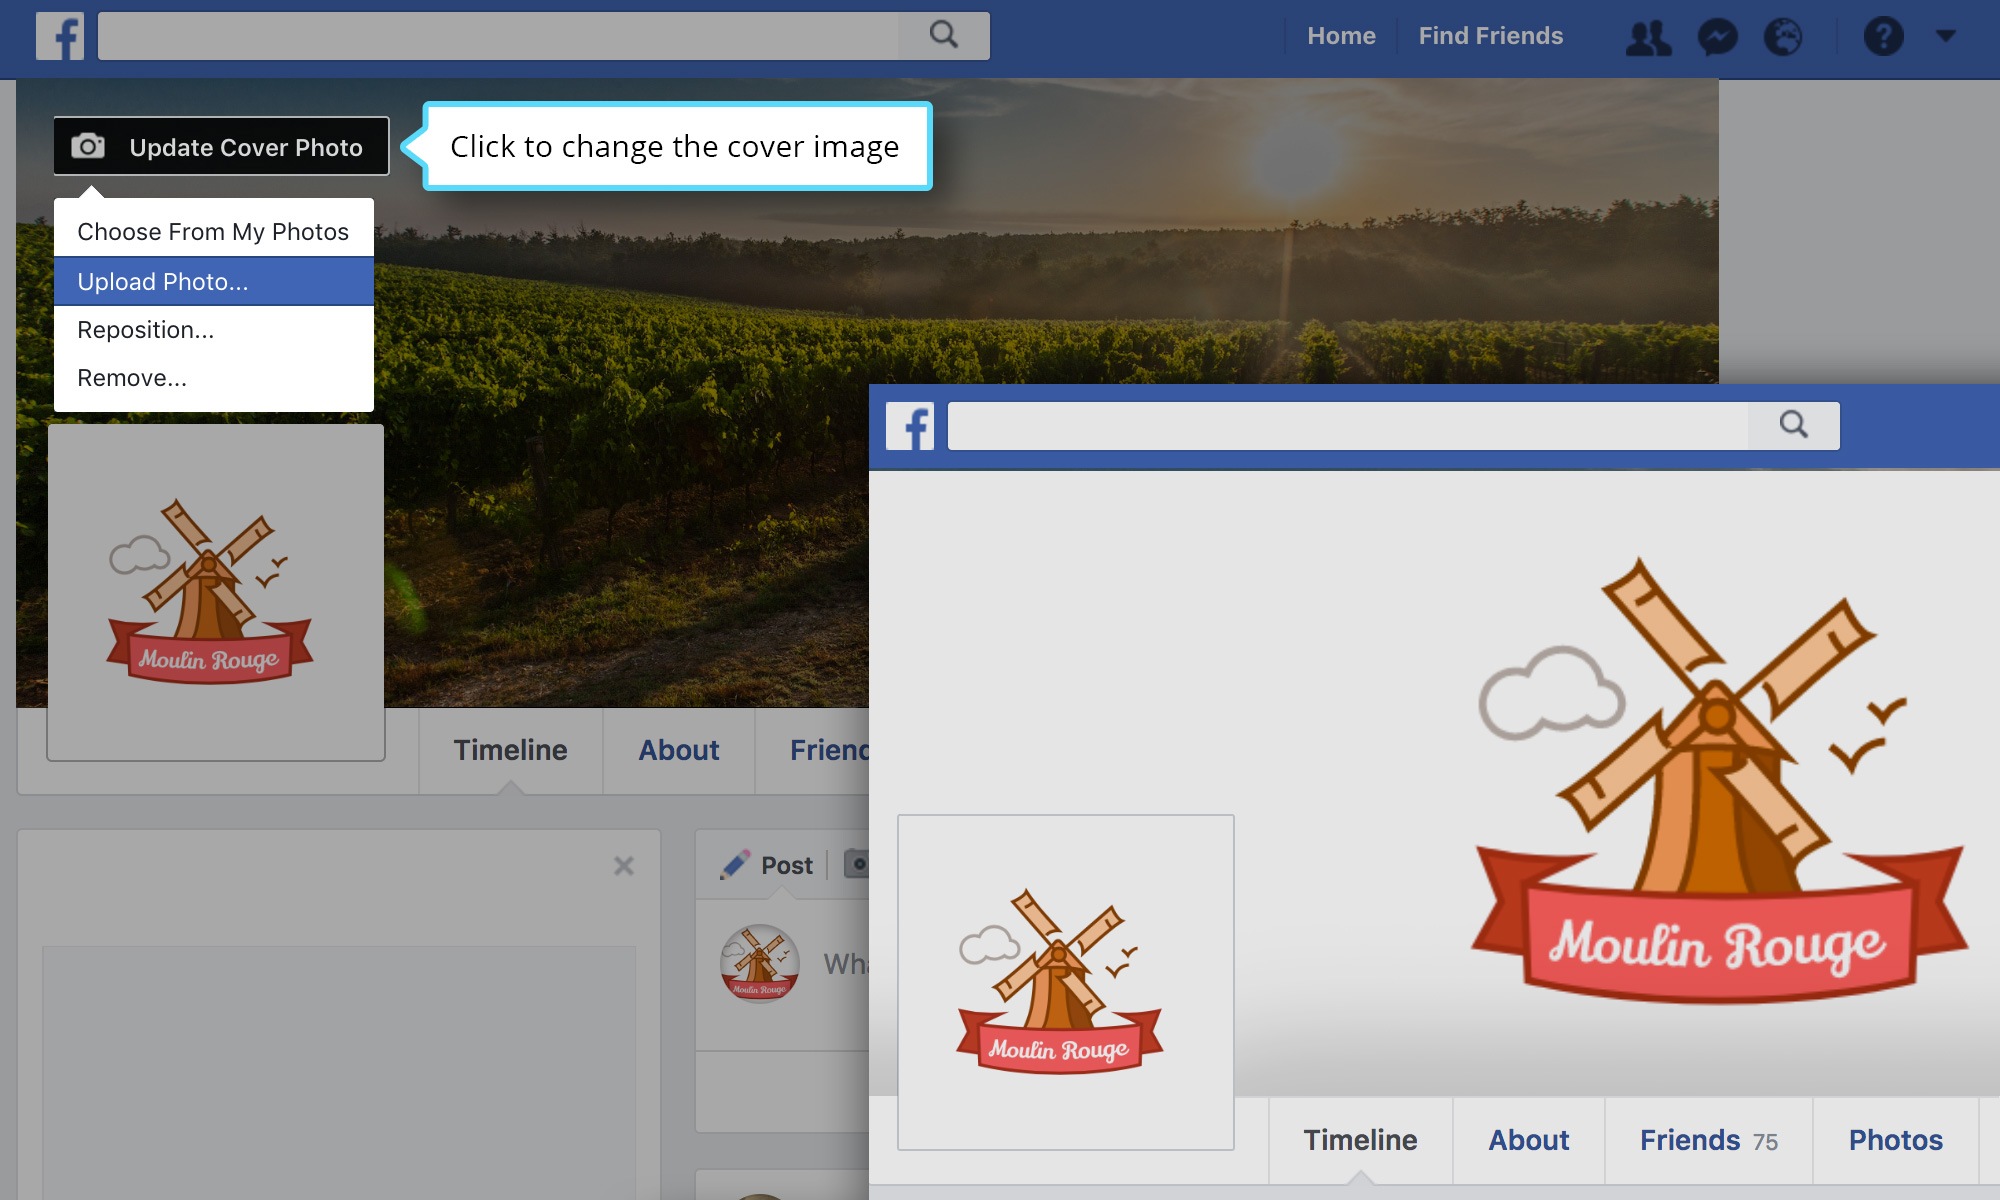
Click the “camera” icon and upload your new cover image (fb-cover-image-white.png) and save changes.
Print your logo
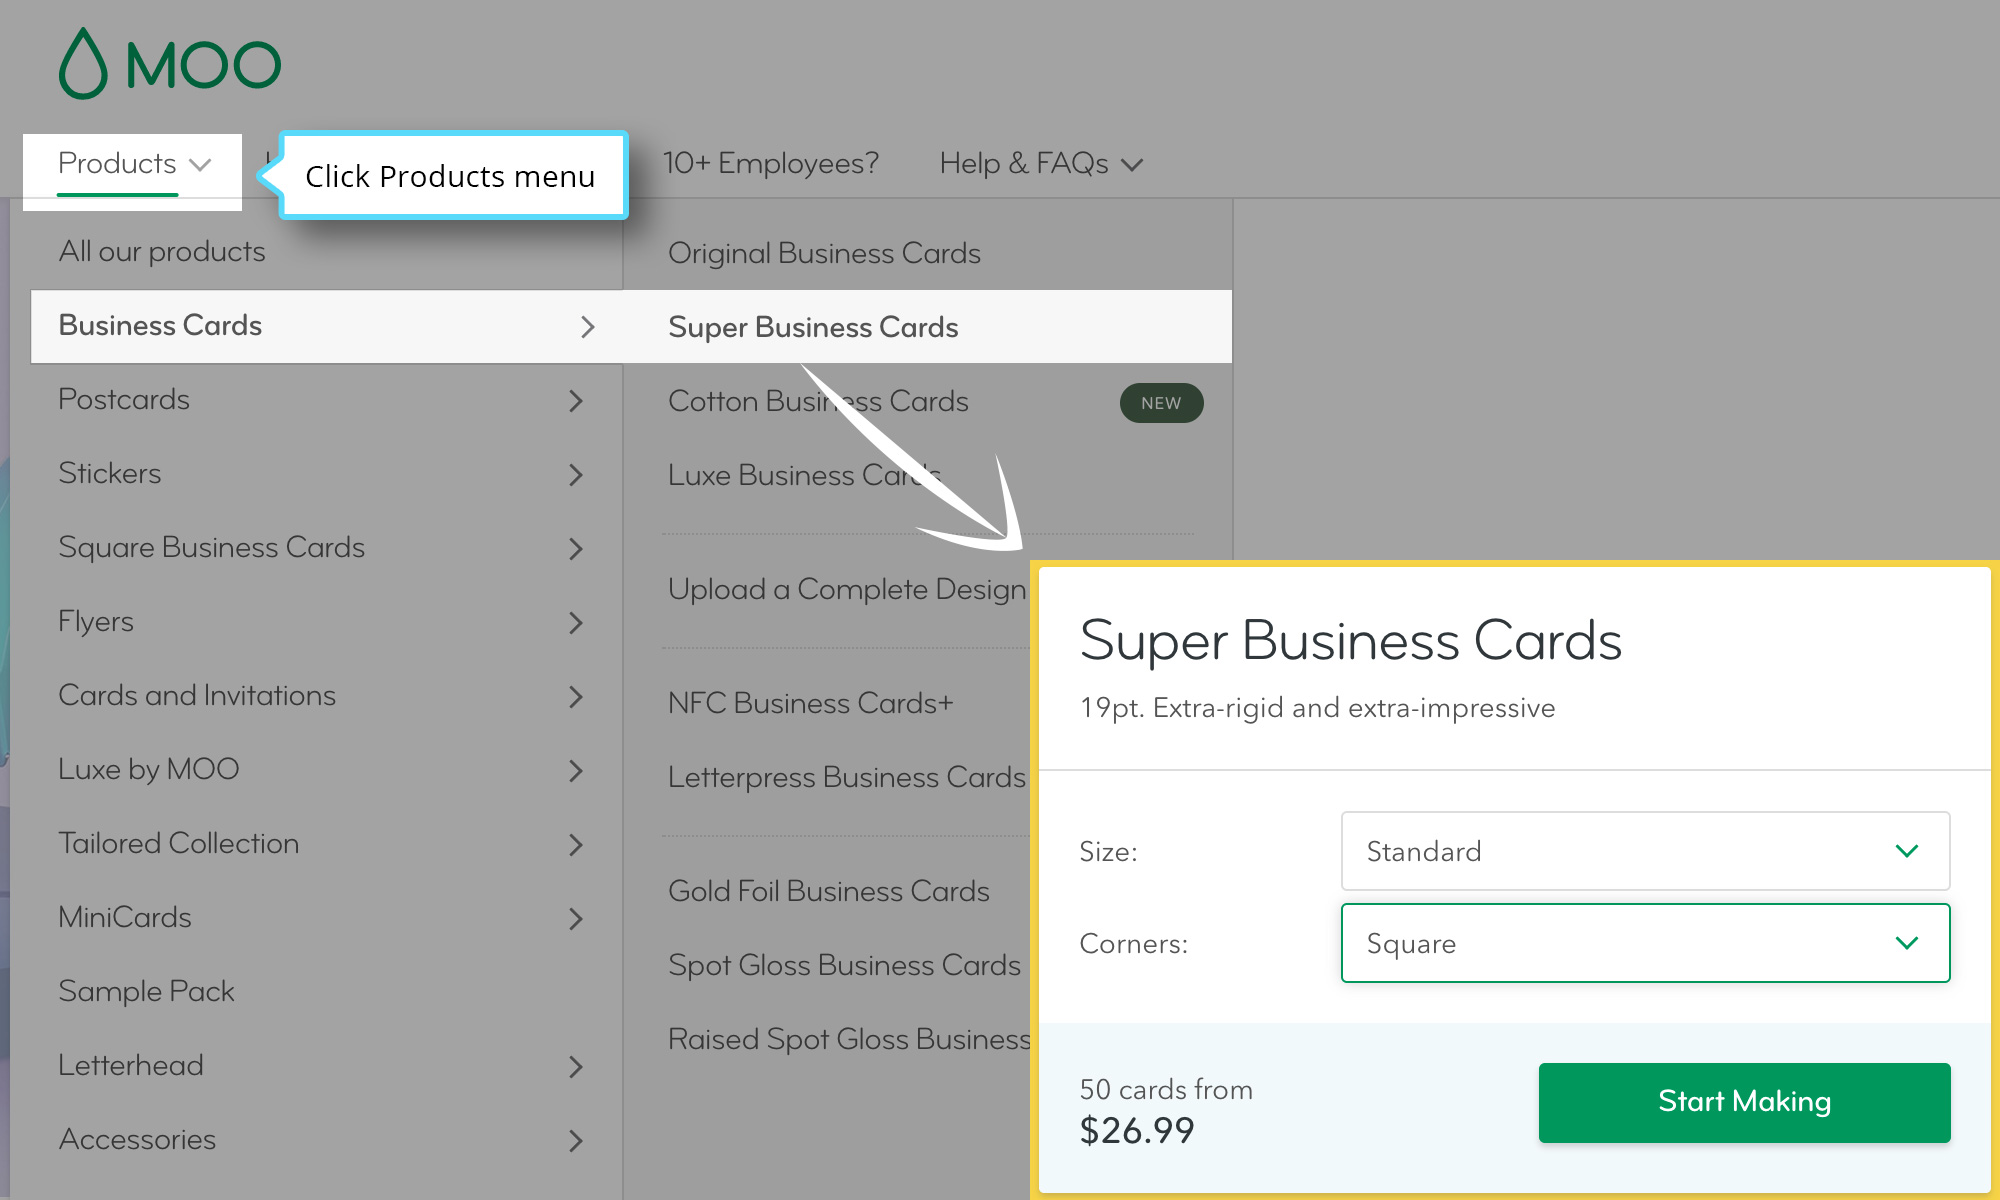
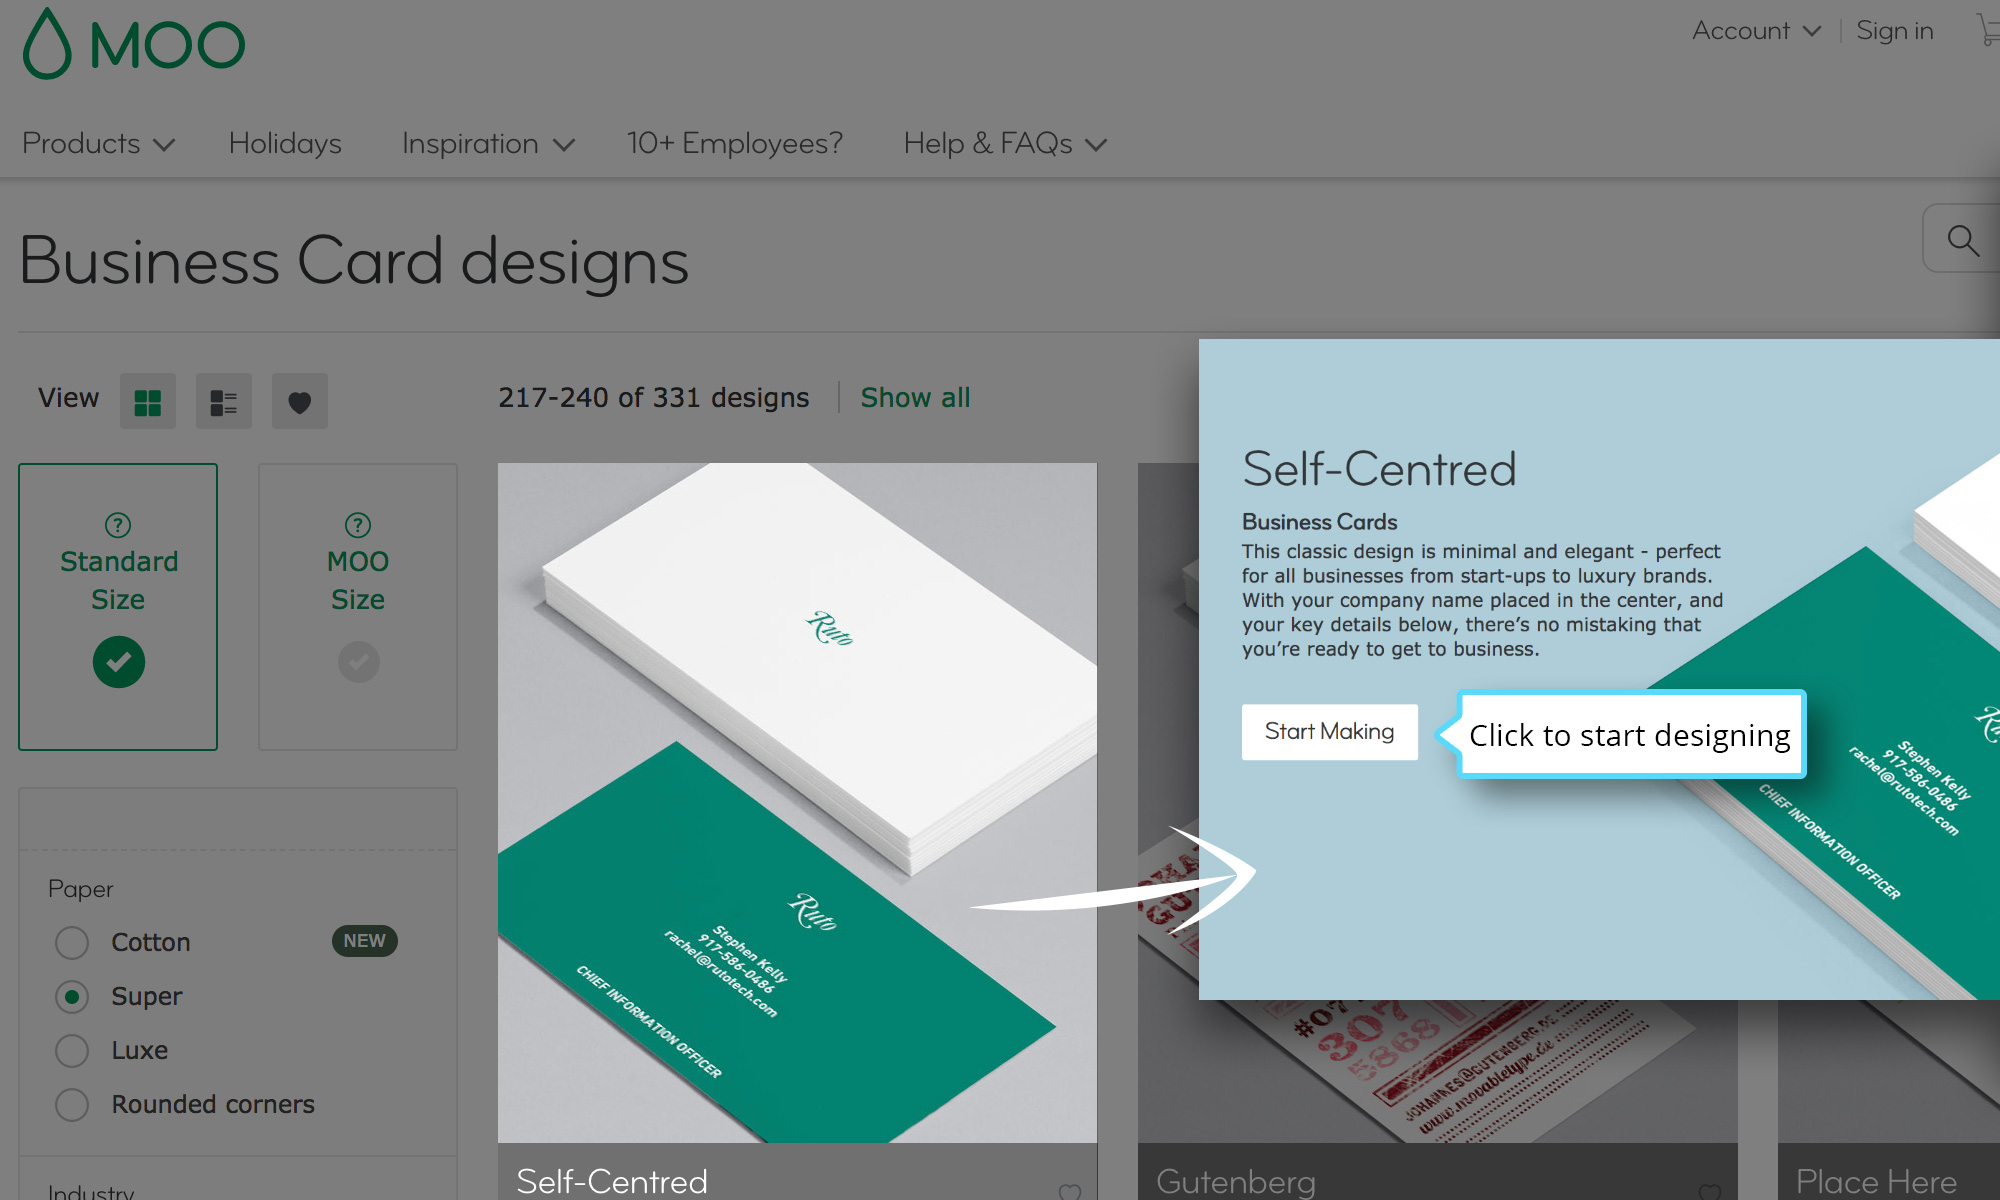
The “Printing” folder contains large retina JPG and PNG files with your logo as well as vector SVG files for printing on stationery products, billboards, t-shirts and many more. If you’d like to print your business cards, we suggest www.moo.com online printing service. On the landing page click in the top menu Products > Business Cards > Super Business Cards. Choose size, corners style (square or rounded) and press “Start Making” button.
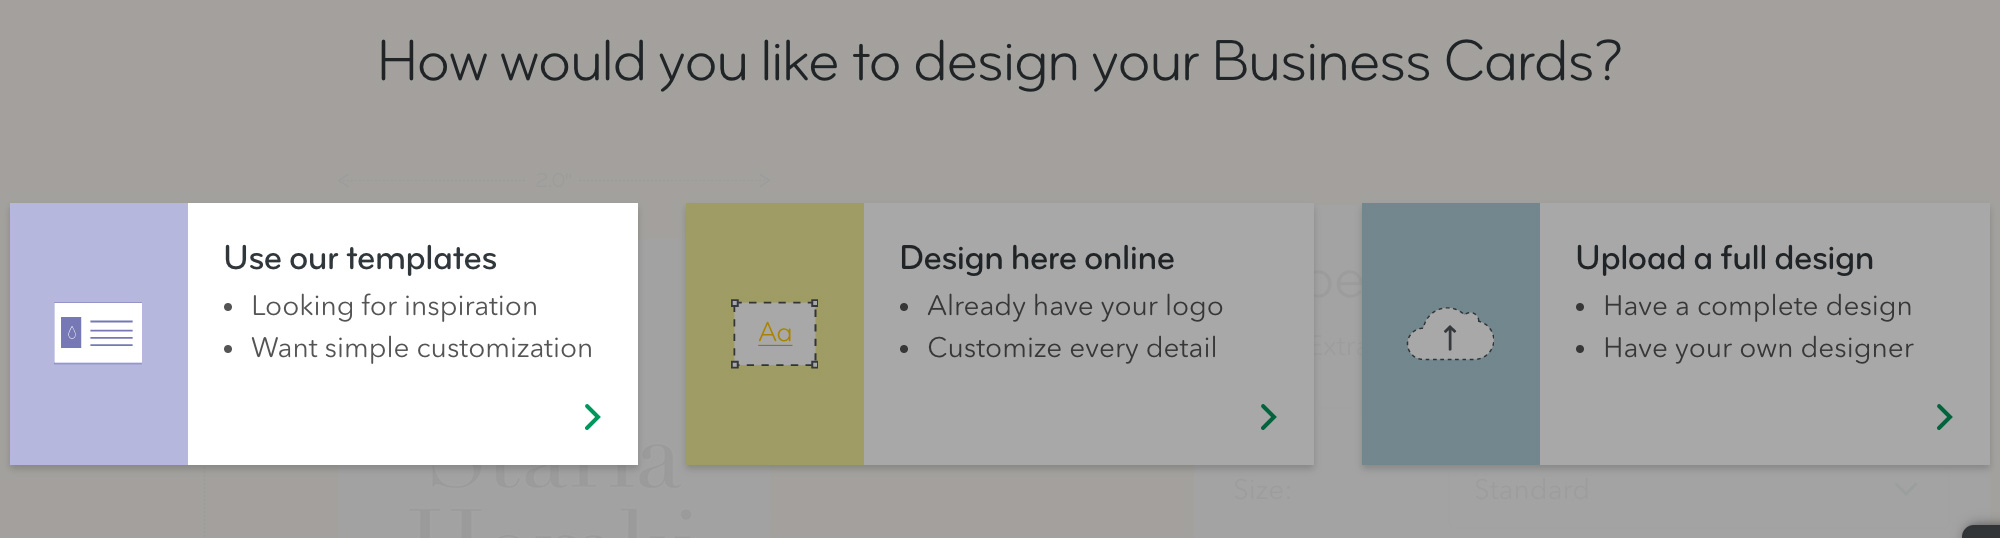
Select “Use or templates”, as it is the easiest way to create a business card design from ready-to-use templates.
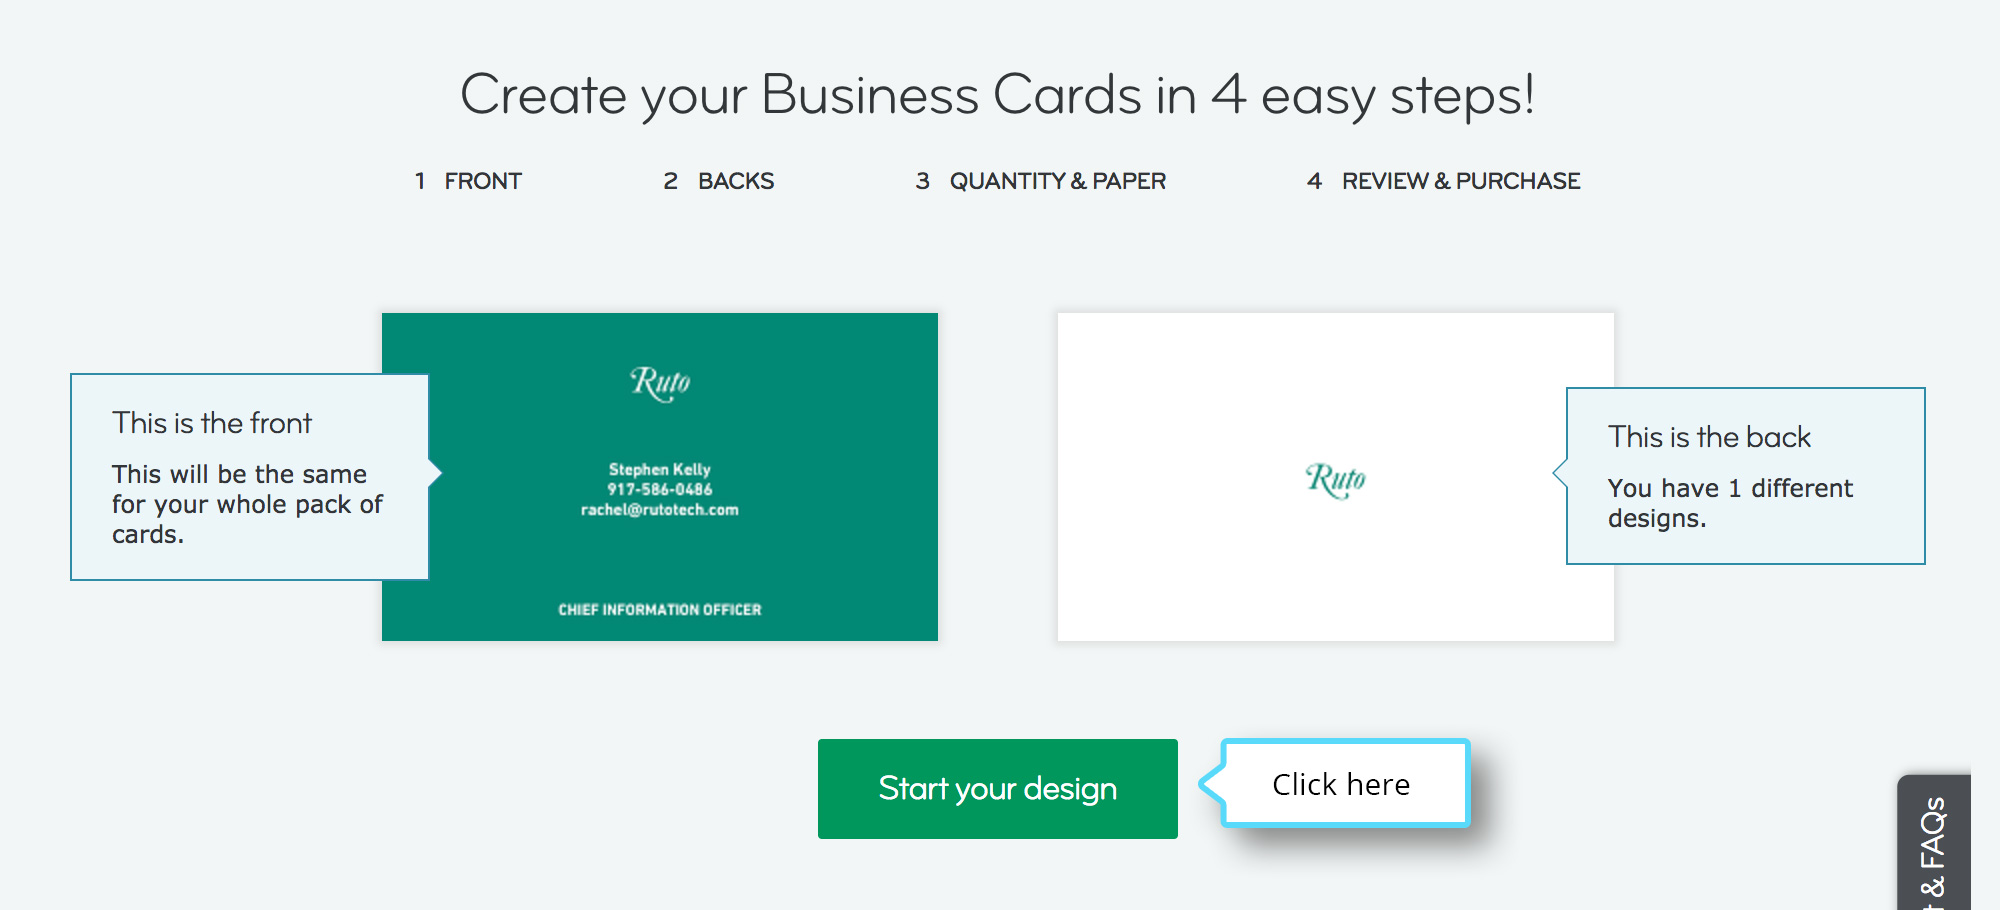
Next, pick a design that you prefer and start designing.
You will have to design both front and back sides.
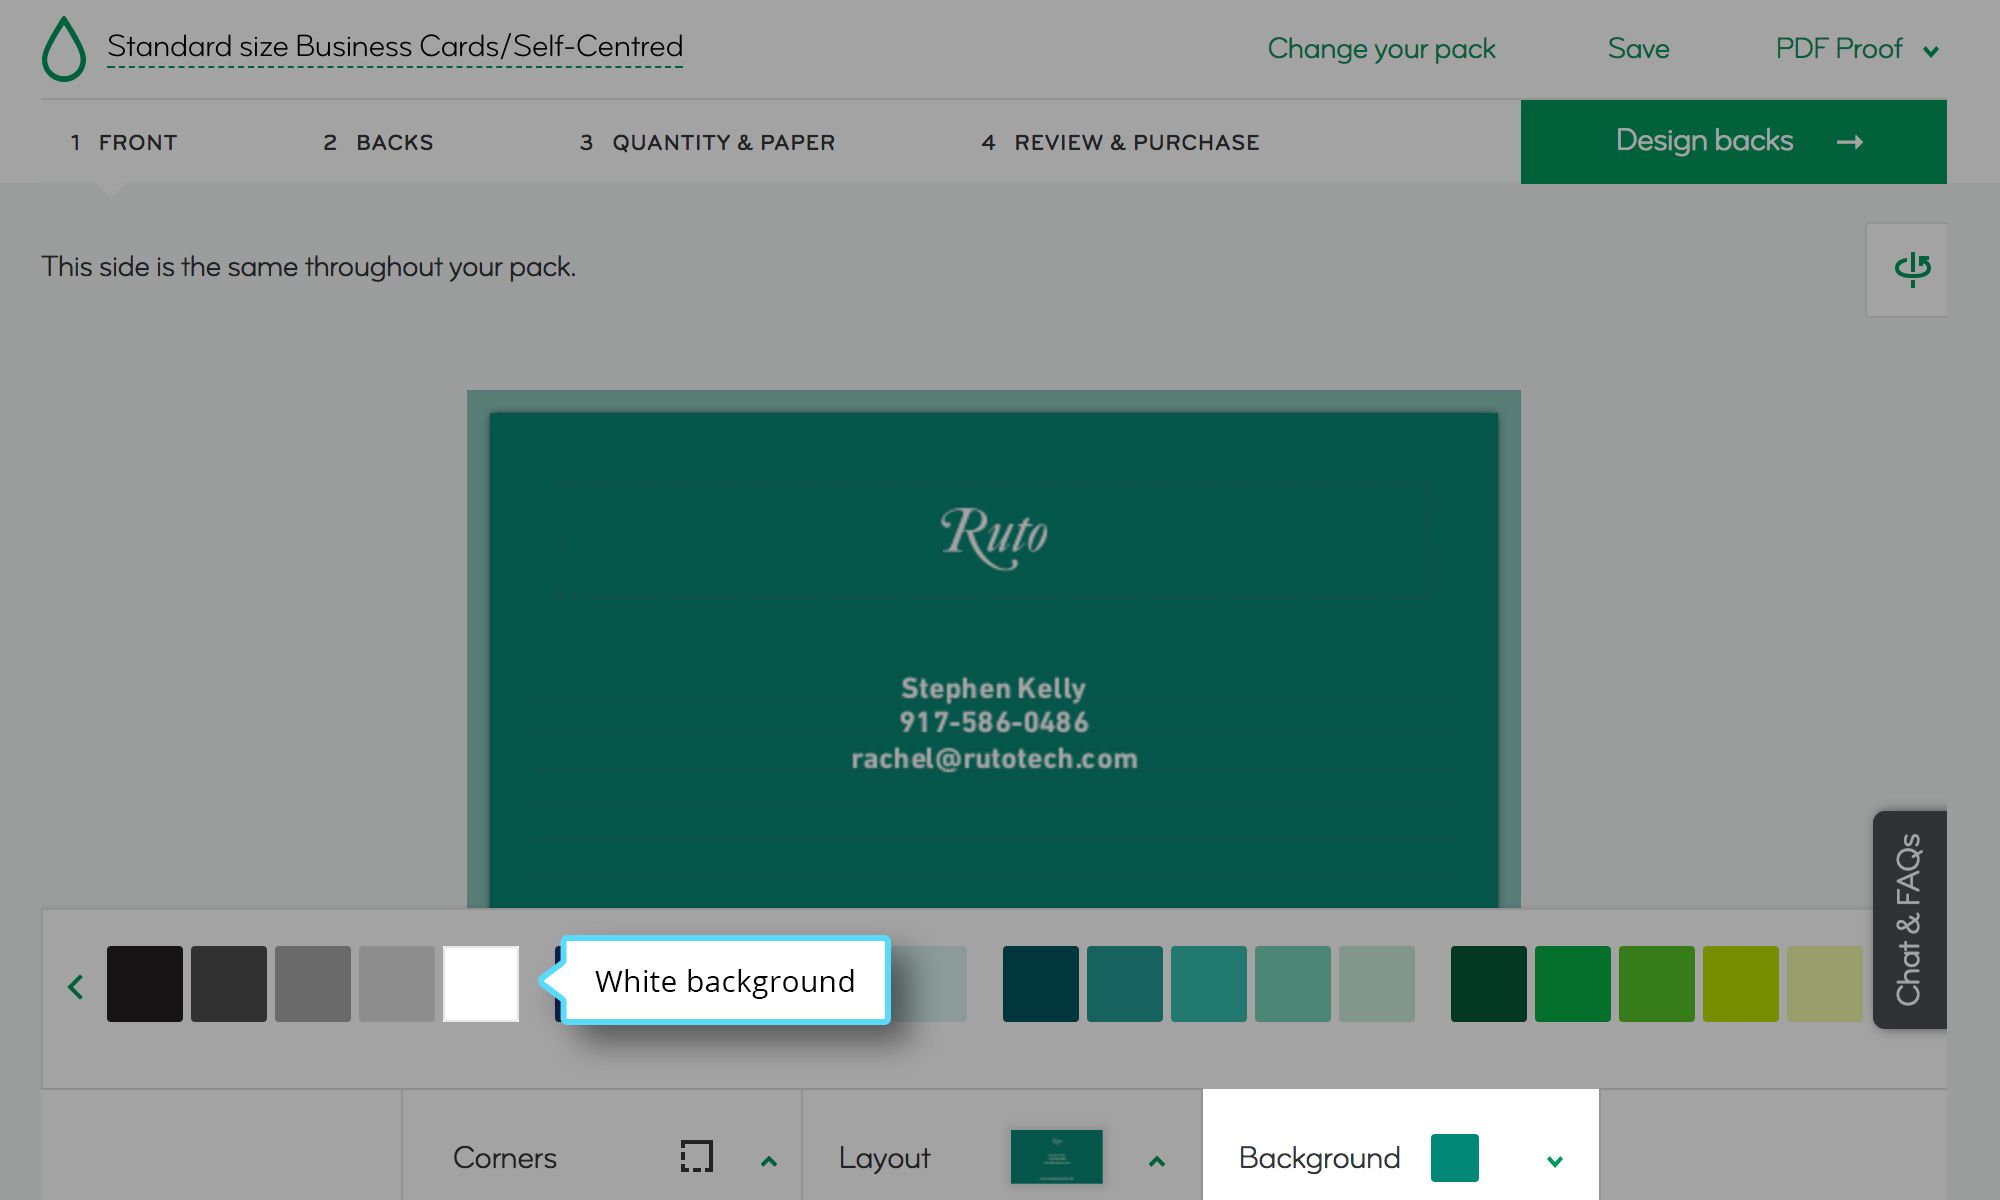
Start by changing the background color into white.
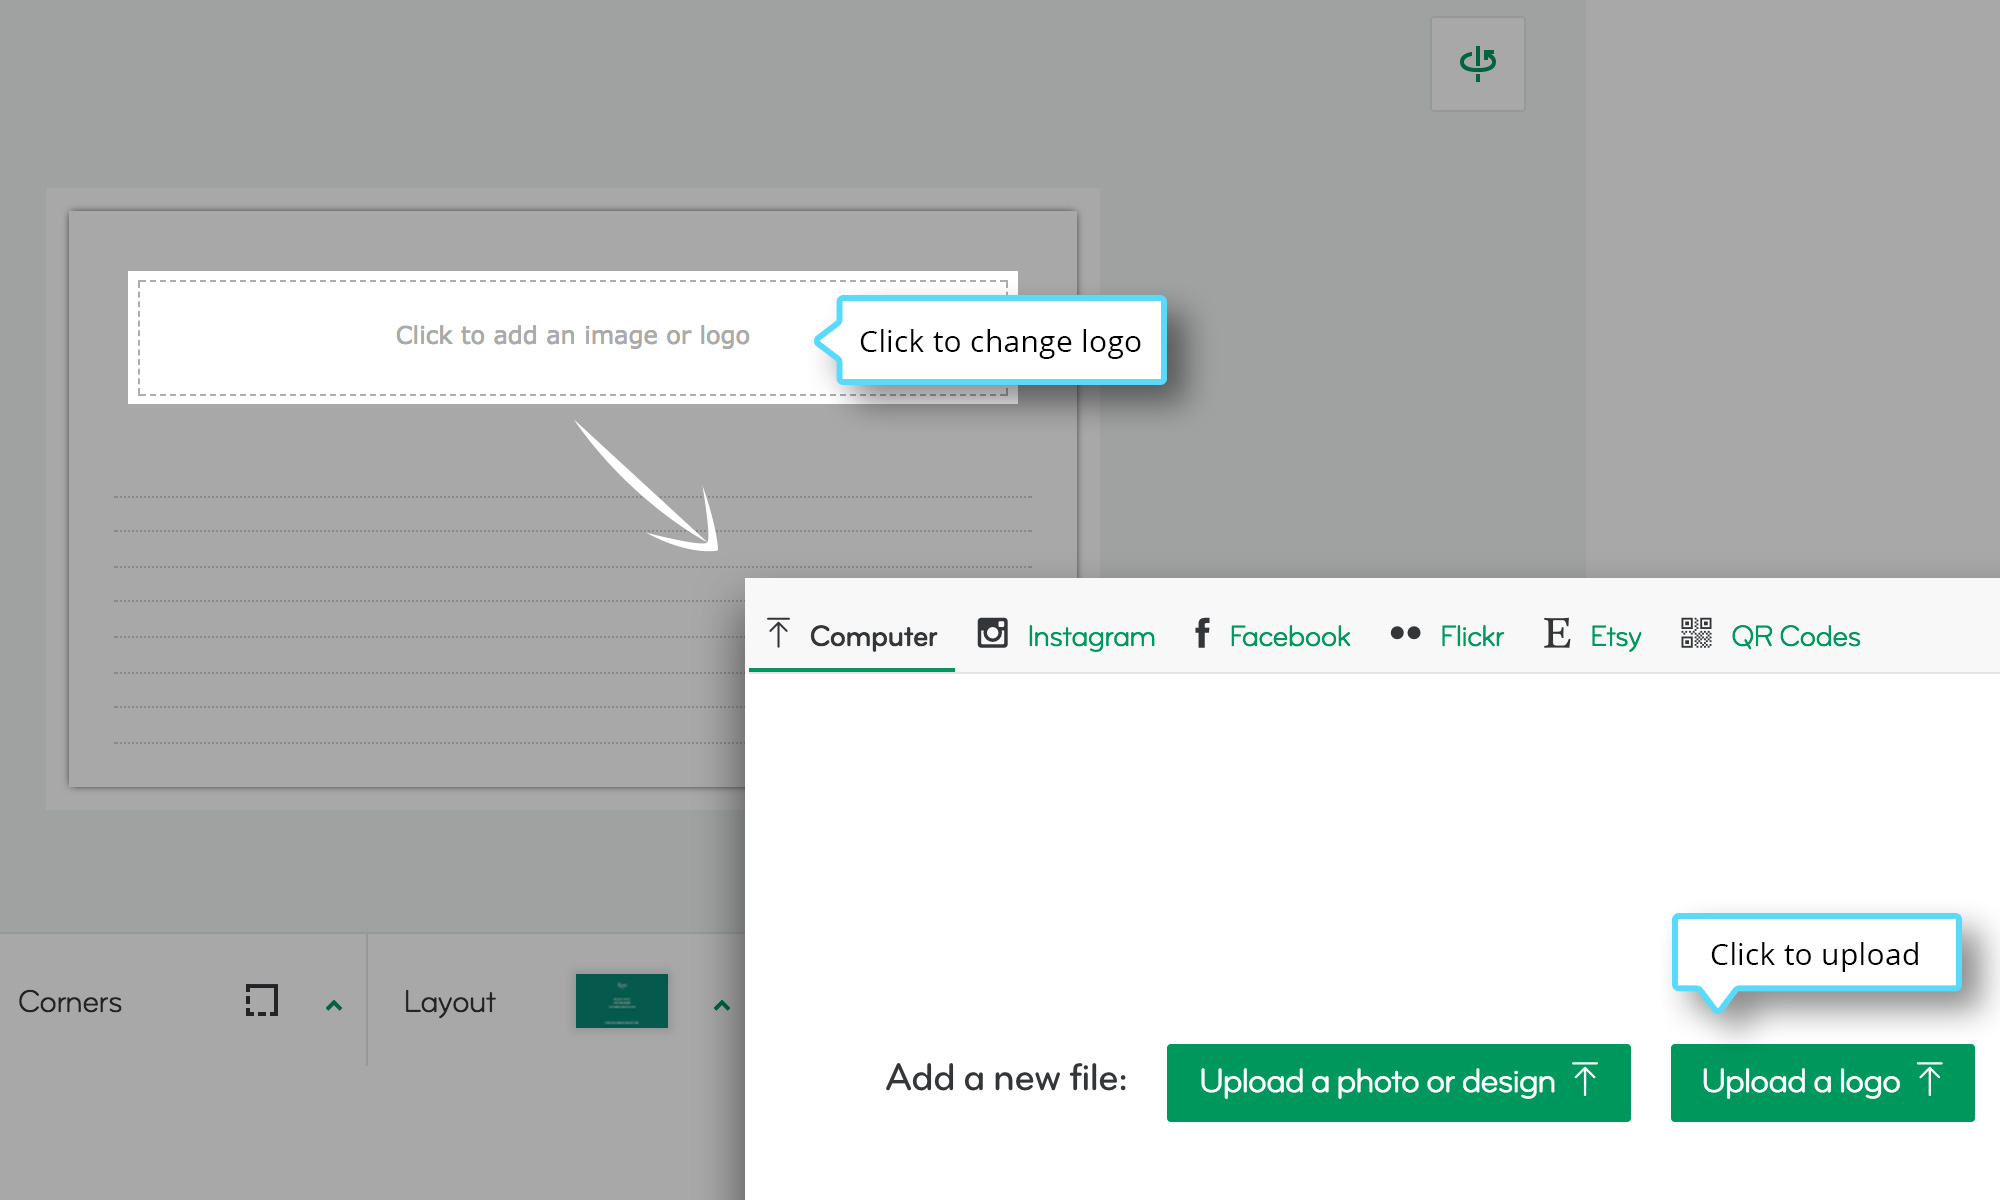
To add your logo to the design, click directly on the current default logo. Then Click to add image or logo > Upload a logo. Select the JPG image from “Printing” folder – large-image-4000×4000@2x.jpg
As we changed the background into white, the text is now invisible. To make it black, you’ll have to just click on the text to select, then in the left menu customize it and input your info details. Once you’ve finished the front side, switch to the back side by clicking the “rotate” icon at the top left corner.

Upload the same logo image for the back side of the card. Resize, move and rotate your logo using the left settings panel and click “Done” arrow button.

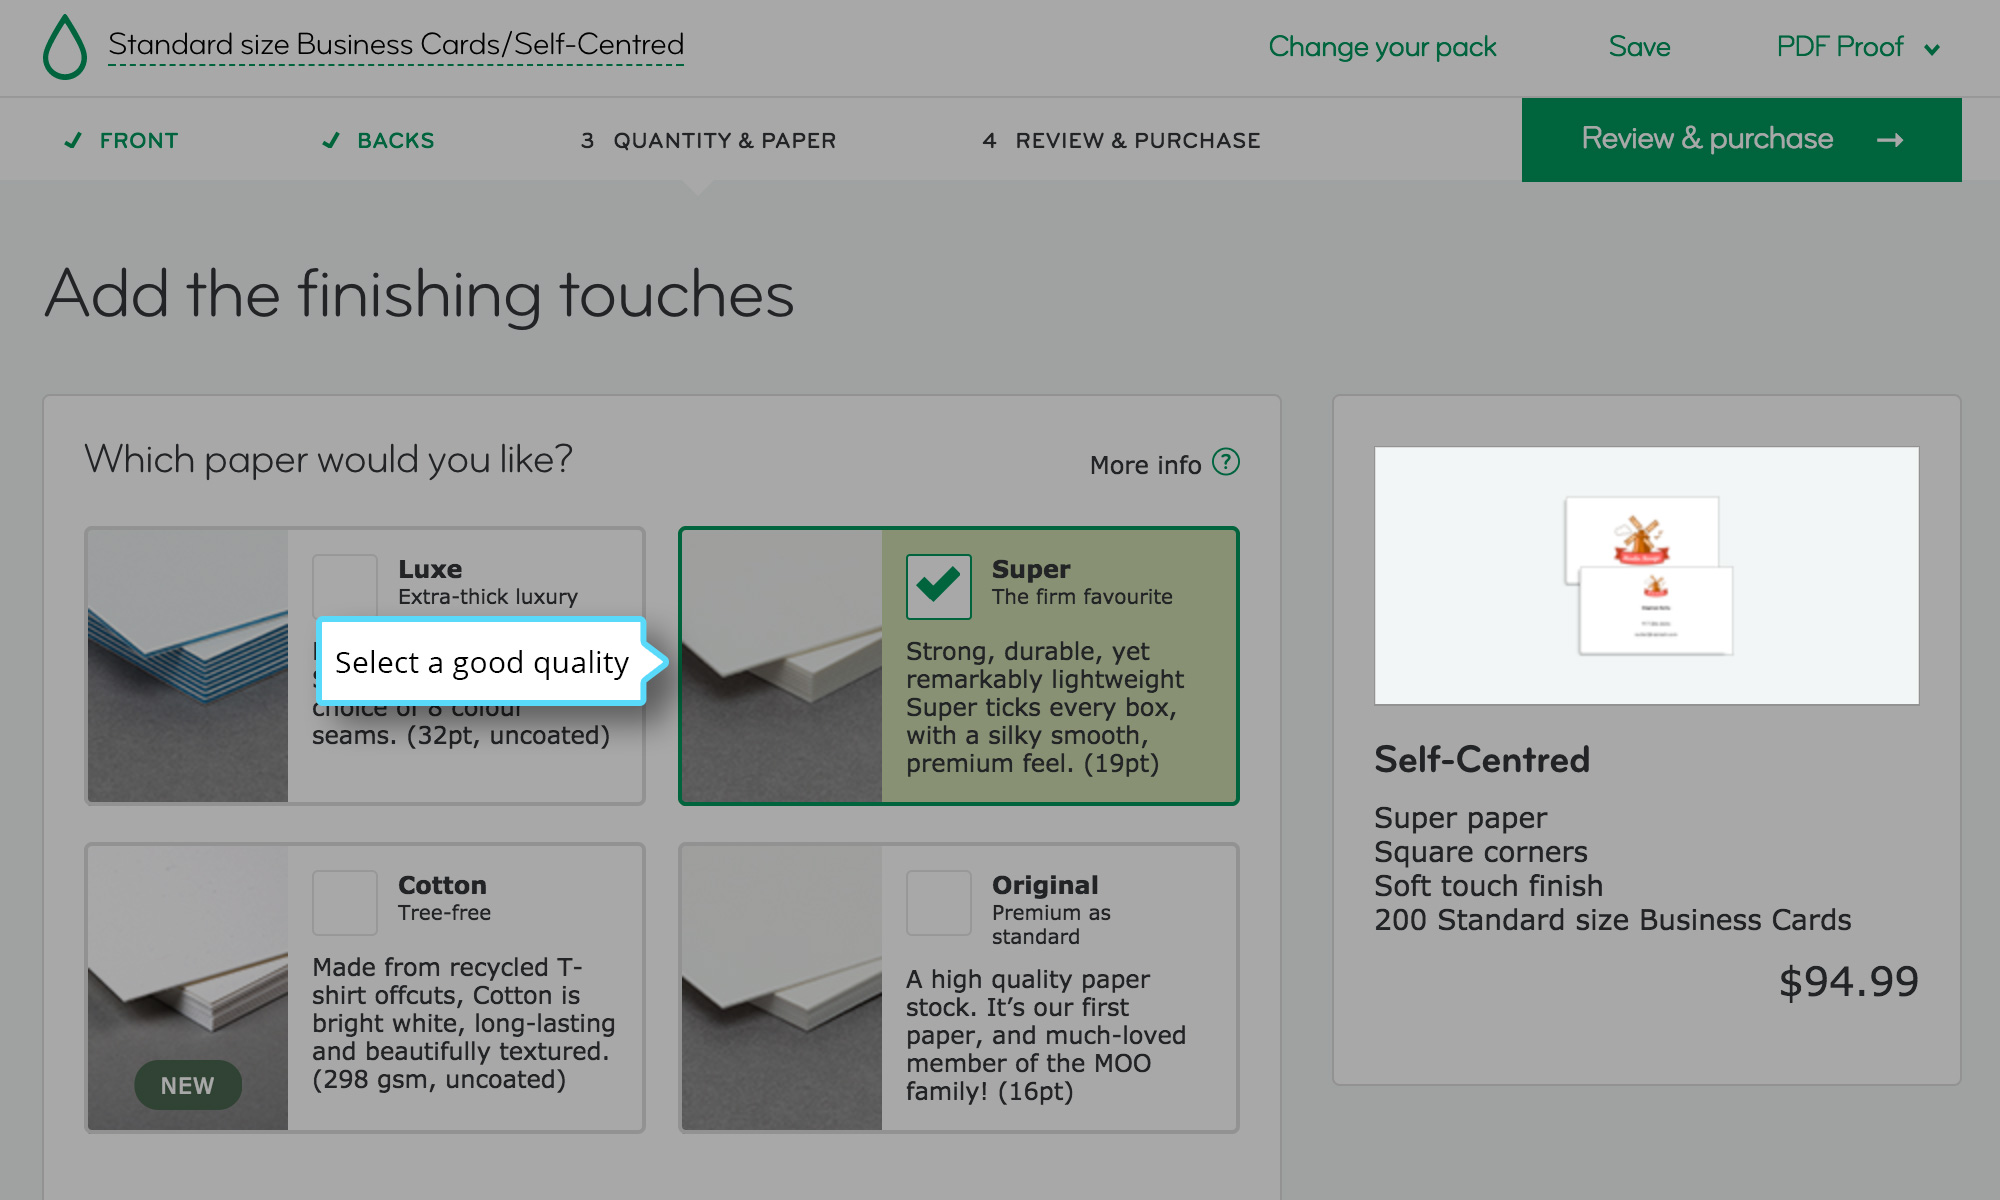
Moving on to the Quality & Paper, we suggest you select a good and durable quality. At the left side you can see your ready business card design and the price.
Google email signature
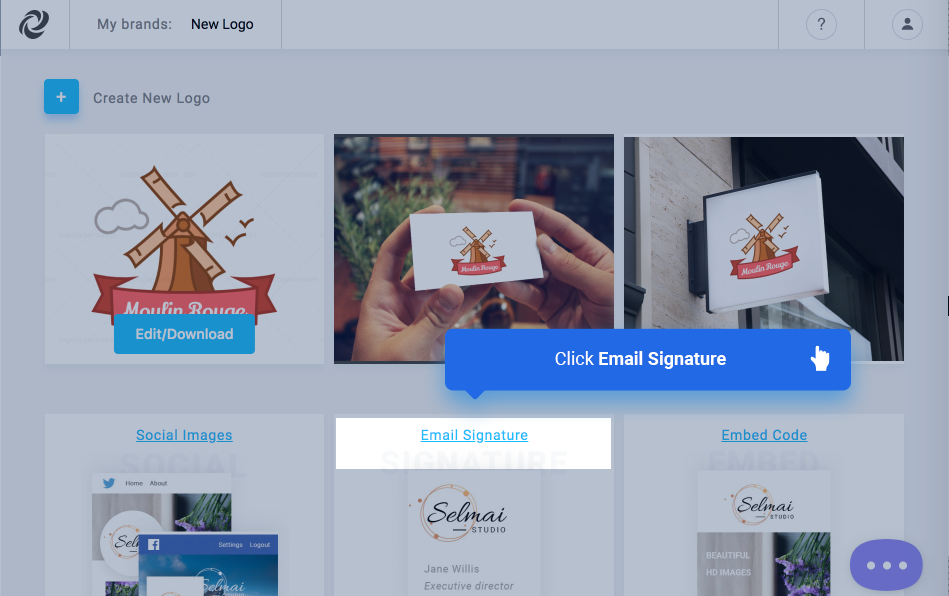
If you need to set up a signature in Gmail, open logotypemaker dashboard and click Email Signature link.
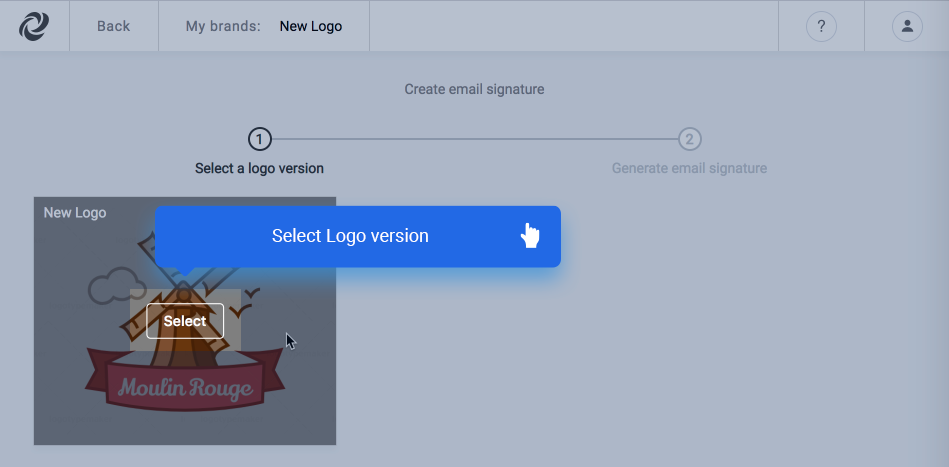
Select a logo version
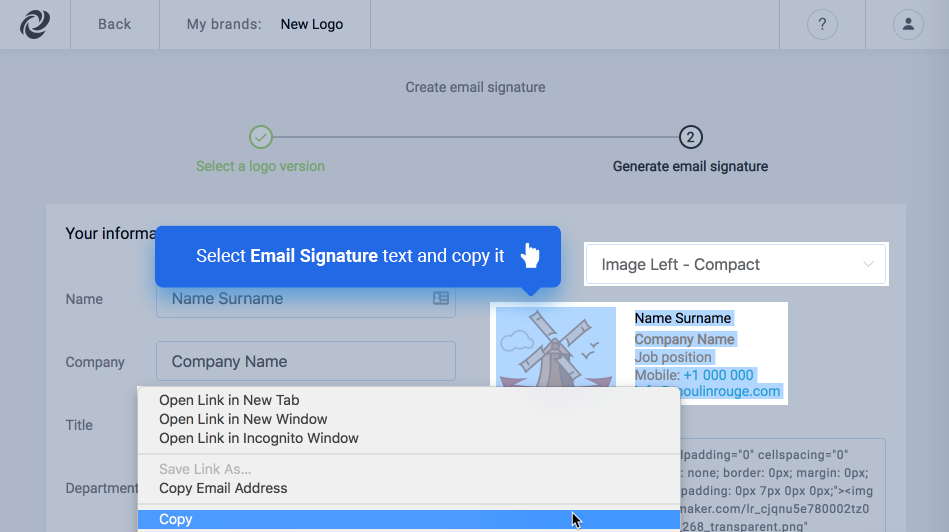
Fill the input fields and then copy the generated email signature (for Gmail you will need to select the image and text instead of selecting the html code itself). Mouse right click after selecting the image & text and click copy
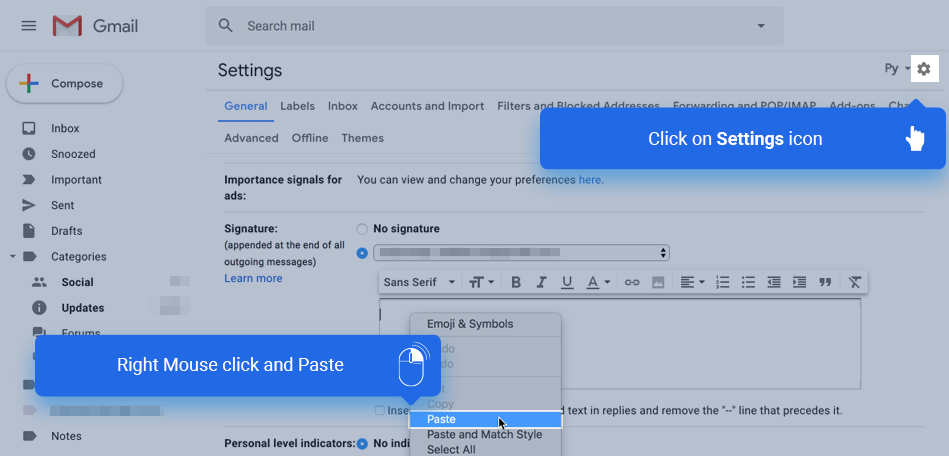
Open Gmail settings page and scroll down to the “Signature” section. Select the account where email signature will be used (with radio buttons) then right click on Signature input field and paste your content.
You can also modify your signature text and image directly in Gmail input field

Scroll down and save all changes.
Apple email signature
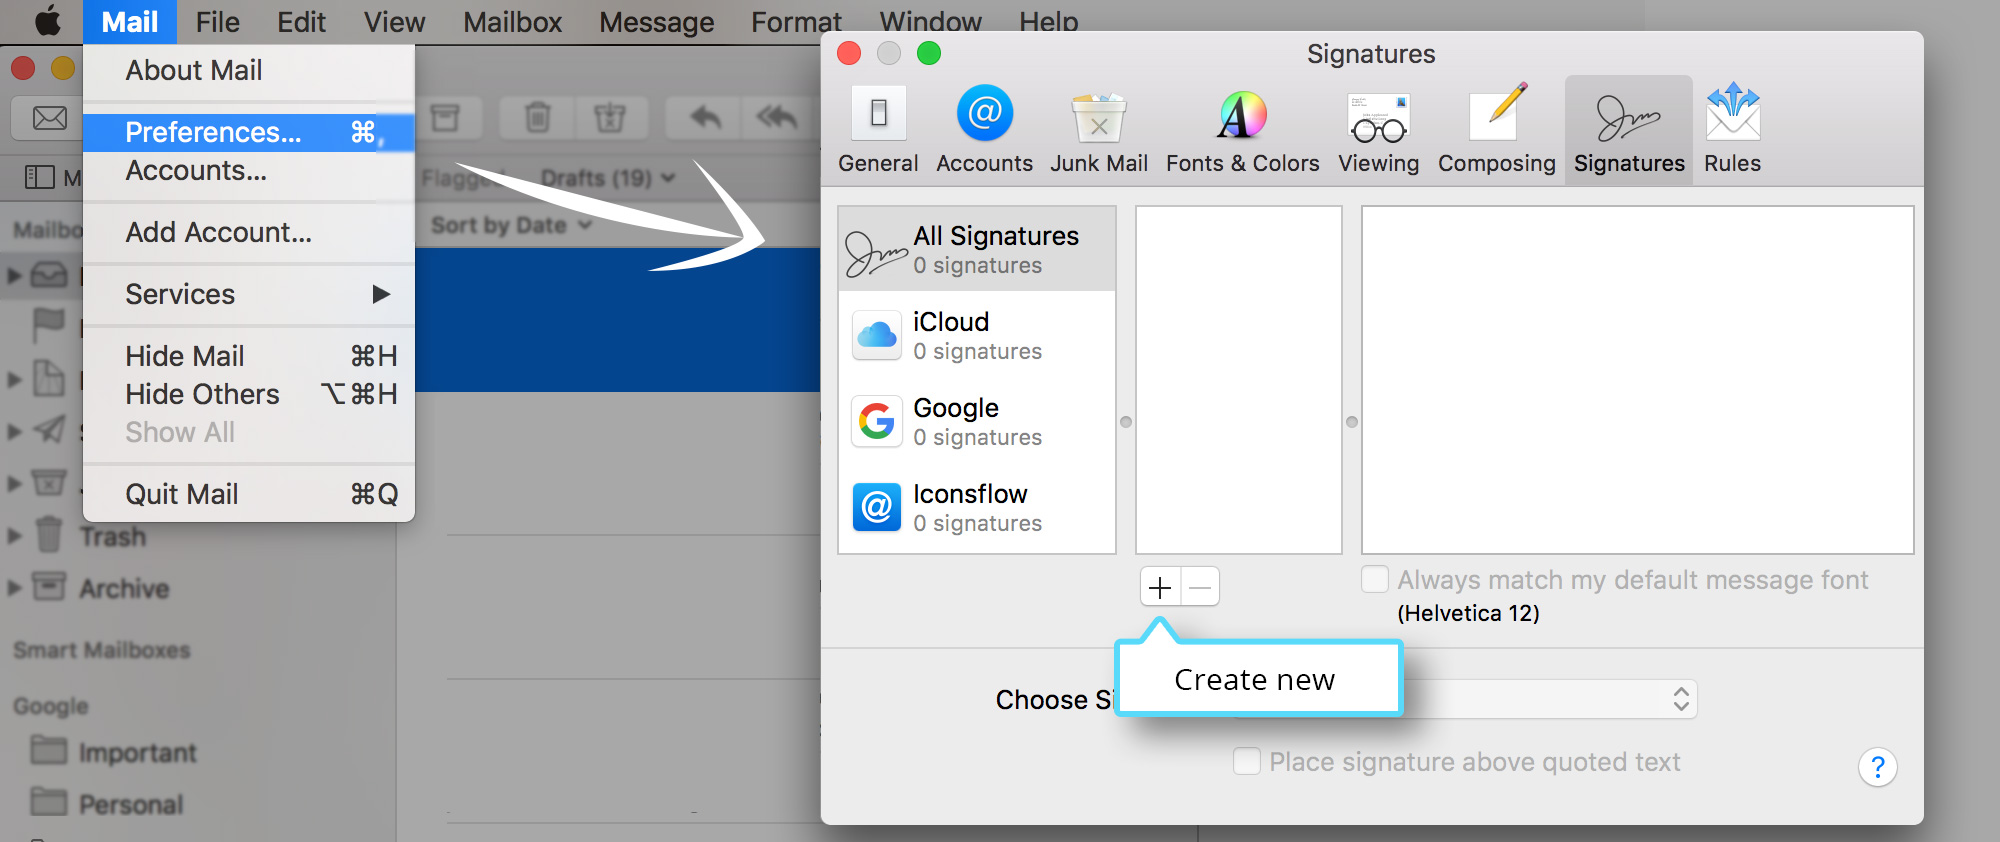
We all like our email signatures to look fantastic. The process of setting a signature in Apple Mail is not too difficult. Open up Apple Mail and select “Preferences” from the Mail menu near the top of your computer screen. Click plus button to add new.
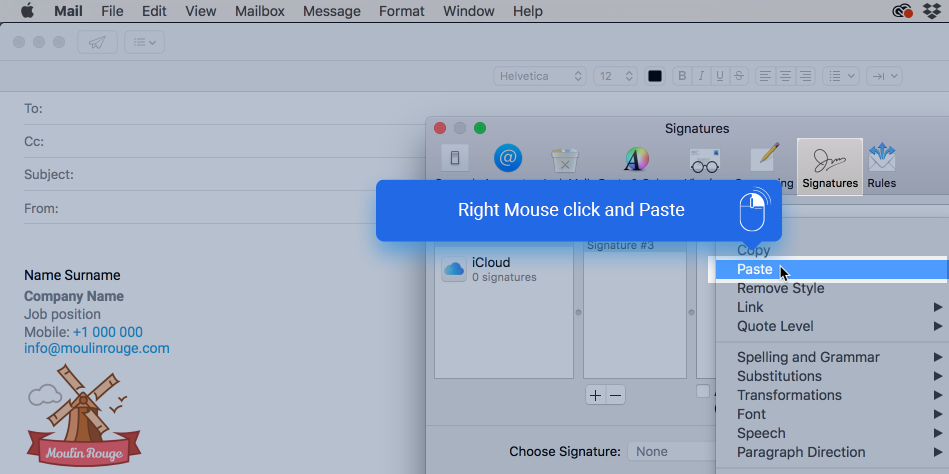
Copy the email signature from logotypemaker just like for the Gmail ( see instructions above )
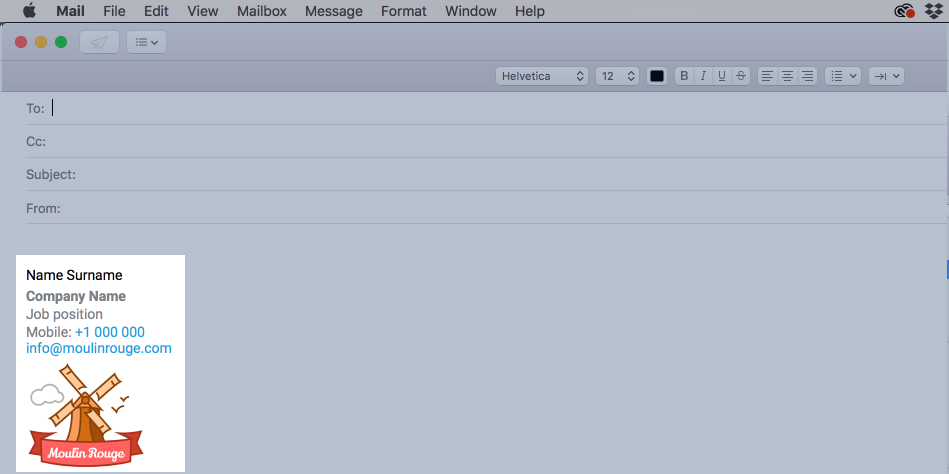
Don’t be worried if you don’t see image in the preferences window. The image will appear right after clicking the “Create new Mail” button.
Freshbooks invoice signature
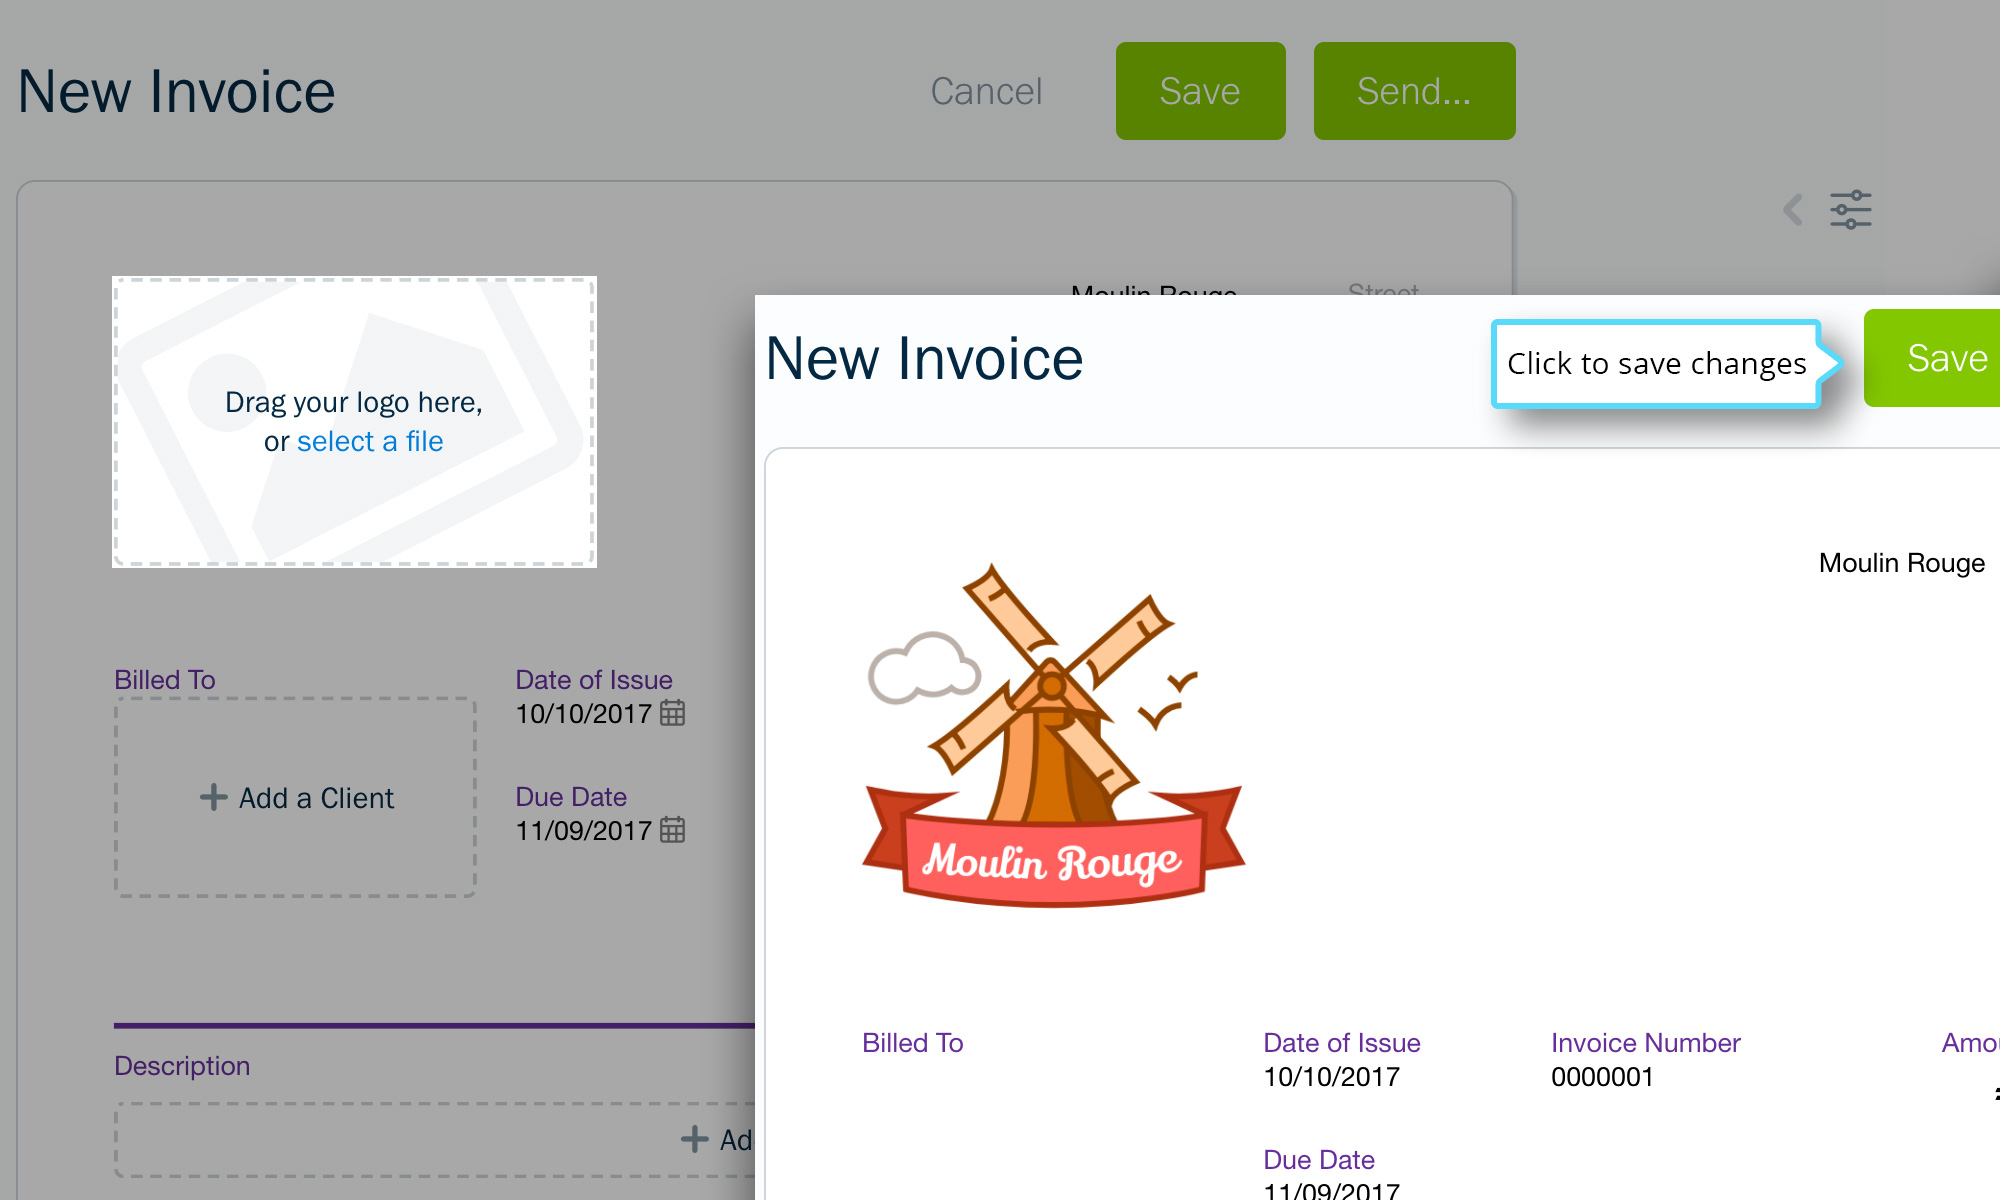
If you need an online accounting software, where you can create invoices, try www.Freshbooks.com. To add your logo to the invoice go to Invoices > New invoice. In the top left corner click on the logo box and upload your image (premium > web > website > website-logo-400×400@2x.png), then click the “Save” button.
Thanks for reading and good luck in completing your brand.